
Spam emails account for about half of all email traffic.
So it makes sense that you’d want to take as many steps as possible to prove that emails sent from your Zoho Mail server are 100% legit.
That way, recipients can feel confident that anything you send them is safe.
And with email compromises and phishing attacks costing businesses a combined $9.5 million on average, you should also be giving your internal users the best protection against malicious emails.
How do you do all that? By setting up DNS records for Zoho.
What Are DNS Records & How Do They Enable Email Authentication?
You can’t set up DNS authentication without DNS records.
Why does that matter? Because DNS authentication is a key process in protecting your users from harmful email content, while also ensuring only legitimate emails are sent from your servers.
DNS authentication isn’t one single “thing”. Instead, it combines three separate email authentication protocols:
- Sender Policy Framework (SPF): Gives domain owners the power to choose which servers can be used to send emails on behalf of the organization.
- DomainKeys Identified Mail (DKIM): Provides a way for recipients to find out if an email was sent and authorized by the owner of the sending domain.
- Domain-based Message Authentication, Reporting & Conformance (DMARC): A combination of DKIM and SPF, DMARC gives domain owners control over what to do with emails that fail authentication.
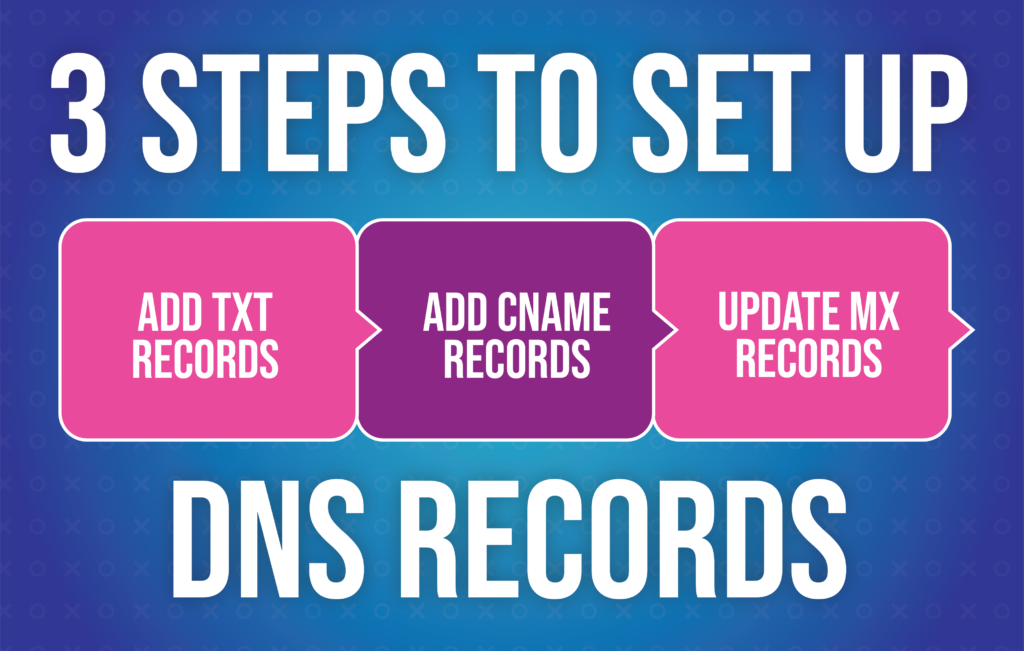
3 Steps to Set Up DNS Records For Zoho Mail
Okay, so we’ve deduced that DNS authentication is kind of important. Which, by extension, means DNS records are a pretty big deal too.
With that in mind, now we’re going to look at how to set up DNS records for Zoho Mail.
Zoho offers multiple ways to configure email delivery and verify ownership of your domain:
- Add TXT Records
As the name suggests TXT records contain textual information about sources outside of your domain.
These records are used to detail all the servers that are allowed to send emails on the domain’s behalf, while also storing policies such as DMARC and SPF.
Follow these steps to set up DNS records for Zoho Mail using DNS:
- Log in to your hosting provider’s domain manager and navigate to the domains section.
- Click to add a new TXT record containing the following information:
| Field | What to enter |
| Host | @ |
| TXT Value | Enter the TXT value generated in the Zoho Mail Admin Console |
| TTL | 3,600 seconds |
- Click Add Record.
- Head to the Zoho Mail admin page and select Verify by TXT.
- Provided the DNS information is accurate and has been processed correctly, your domain will be verified. Simple!
- Add CNAME Records
Canonical Name (CNAME) records can be used to provide an alias that ties one domain to another.
For instance, postaga.com and www.postaga.com are hosted by the same server and send visitors to the same place — our website. But because we don’t want to maintain separate records for each, we can create:
- An “A” record for postaga.com that points to our server’s IP address
- A CNAME record for www.postaga.com that directs people to postaga.com
Makes sense, right?
Not only that, but CNAME records can also be used to set up DNS records for Zoho Mail. Here’s how to do it:
- Log in to your hosting provider’s domain manager and navigate to the domains section.
- Click the name you’ve added for verification and select CNAME records.
- Update your records with the following information:
| Field | What to enter |
| Host / Name | The code generated in your Zoho domain verification page (it’ll look something like zb12345678). |
| CNAME / Answer | The value from the CNAME Value/ Points To/ Destination field of your Zoho Mail Admin Console. |
| TTL | 300 |
- Click Add Record.
That’s all it takes to add your CNAME record — but be aware it’ll likely take at least an hour for the changes you’ve made to show up in the DNS servers.
Log in to your Zoho Mail panel after a couple hours and click Verify; after this step you’ll be able to create mail accounts and start adding users.
- Update Your MX Records
Mail exchange (MX) records are a type of DNS record responsible for handling the emails sent to your domain.
You don’t need to configure an MX record for your domain to send emails, but you won’t be able to receive emails without it.
As you’ve probably guessed by this point, MX records can also be used to set up DNS records for Zoho Mail. Make it happen by following these simple steps:
- Log in to your hosting provider’s domain manager and navigate to the domains section.
- Select the relevant domain and choose MX Record.
- Add the following information:
| Field | What to enter |
| Host | Leave it blank |
| Priority: mx.zoho.com | 10 |
| Priority: mx2.zoho.com | 20 |
| Priority: mx3.zoho.com | 50 |
Bear in mind these MX values are based on the generic configuration information, but details for specific domains can be found in Zoho’s Admin Control Panel.
Using Zoho for Sales Teams for Lead Generation and Cold Email

So far, so technical. But what does all of this have to do with the important task of using Zoho Mail for cold email outreach and lead generation?
Well, to put it simply, if cold email is a big part of your process, you risk having your account suspended if you don’t set everything up correctly.
tw
One of the most important elements of cold email success is email deliverability. Even if you’ve got the world’s most relevant prospect list and the sharpest copy this side of a Mad Men pitch, you won’t generate the desired results if none of your messages reach the main inbox.
Email authentication is the crucial first step in the email deliverability puzzle. If the emails you send are authenticated, there’s less risk of them bouncing or ending up in the spam folder.
The next step is email warmup, which in layman’s terms means: don’t go from 0 – 100 real quick.
Sending 500 emails from your brand new account will look suspicious at best. Chances are a bunch of those emails will end up in the spam folder. Worst-case scenario, your account might get suspended before you’ve even got it up and running.
Email warmup mitigates this risk by building your account up gradually, starting with just a few emails per day in the first week or two, then increasing over the following weeks.
N.B. learn more about this by reading our ultimate guide on how to warm up an email account.
Another key point: if you’re using a third-party sales automation tool to send cold email from your Zoho Mail account, bear in mind that your account could be flagged and suspended if you send too many emails at the same time.
Zoho — as with all mailbox providers — has strict rules designed to prevent mass email sending, so set a conservative limit (say 30 – 50 messages per day) for each email address.
All those elements are within your direct control. But there’s one other factor in email deliverability that’s somewhat out of your hands: the identity of the people you’re emailing.
By which we mean, if you try to email a bunch of fake or inactive addresses, your email bounce rate will increase and your deliverability will drop. Honestly, the best way to guard against this is through quality prospecting — in other words, don’t buy massive prospect lists from sketchy third-party vendors.
To Wrap It All Up
Hopefully, you’ve managed to make it through the process of configuring DNS records for Zoho Mail without too much pain and heartache.
That means you’re poised to start building cold email outreach campaigns that bring in high-quality leads.
But before you do, give yourself the best chance of success by checking out our guide to the best days and times for sending cold emails.
Good luck!
Free 14-Day Trial
Start building relationships now with your fully-featured 14-day trial!
How We Compare
Terms | Done-For-You Terms | Privacy | Write For Us | Press
© 2025 Postaga. All Rights Reserved. Made with  in Boston.